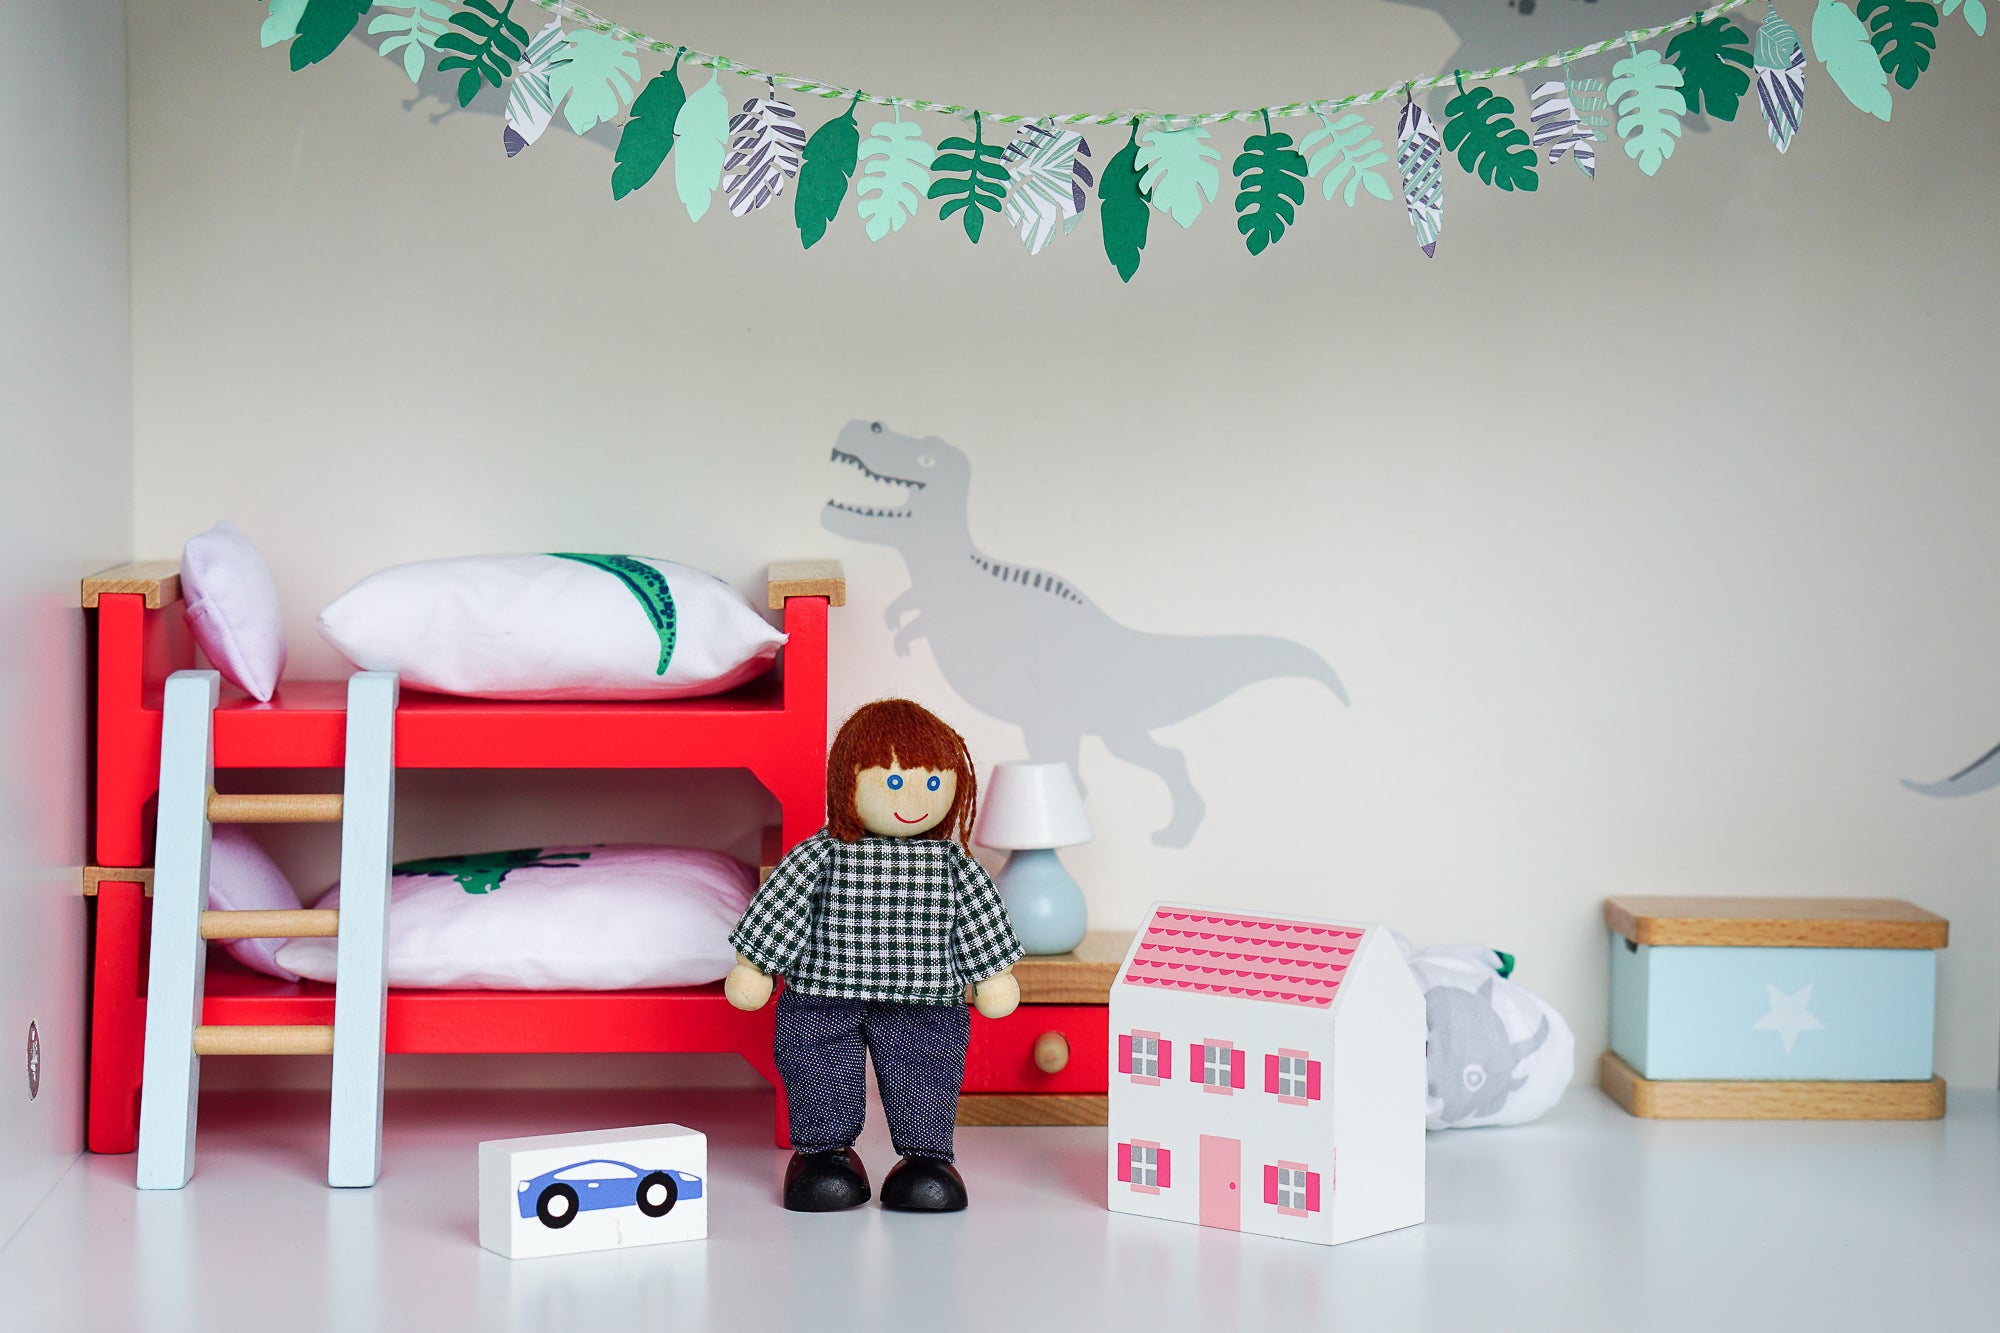
Welcome to part two of our transformation of the Townhouse Bookcase into a beautiful dolls' house. This month, we've turned one of the compartments in to a dinosaur-themed children’s bedroom using our Dinosaur Children's Wallpaper - you can read all about how to wallpaper the bookcase in part 1.
What we're going to talk about today is how we've used the very same fabric that our Dinosaur Bedding Set is made from to create a super cute bean bag and two amazing doll-size duvets.

A PRETTY ROARSOME BEAN BAG
First up, here's how to make a tiny version of our popular Dinosaur Bean Bag - it's not an exact replica but still the perfect place for a little doll to perch.
Here's what you'll need:
- Card
- Pencil
- Scissors
- Fabric
- Needle
- Thread
- Teddy bear filling (cotton wool)
Simply follow these steps to make one of your own:
Step 1: Sketch a leaf shape onto a piece of card to create a template and then cut it out. As a guide, the leaf should be approximately the same size as the doll's body (neck to feet).
Step 2: Trace around the leaf shape on to your fabric six times and cut out the pieces.

Step 3: Put two of the leaf shaped pieces of fabric together, good sides facing each other, and sew down the right-hand side.

Step 4: Open the two leaves up and place a third leaf good side facing the good side of the leaf on the right, and again, sew down the right-hand side.
Step 5: Continue doing this for all six pieces of fabric. Take care that the pieces of fabric don’t move around too much and that you're sewing the ends closed so that no filling leaks out once the beanbag is stuffed.

Step 6: You should now have six pieces of fabric joined together with just the first and last edges to join together. Sew them halfway up before turning the bean bag inside out (the right way around).
Step 7: Finally, stuff your bean bag with the filling - as full or lightly as you like - before stitching the opening closed and trimming any loose thread.

DREAMING OF DINOSAURS
Every children's bedroom needs beautiful bedding so we used fabric samples to create two dinosaur duvet covers for the bunk bed from our Dolls' House Furniture Children's Bedroom Set.
Here's what you'll need:
- Ruler
- Fabric
- Pencil
- Needle
- Thread
- Teddy bear filling (or cotton wool)
And they're really simple to make:
Step 1: Use a ruler to measure the bed, leaving space for the pillow, and add an extra 1cm to both the length and the width for the hem.
Step 2: Using your measurements, cut out two pieces of fabric and then place them pattern sides facing and sew up three of the sides before turning the duvet inside out (the right way around).

Step 3: Pop a little bit of the stuffing inside to plump it up before stitching the opening closed and trimming any loose thread ... and making a second duvet!


A DOLL-SIZED DINOSAUR BEDROOM
Finally, all that remains, is to decide whether to place the beds one on top of each other or side by side and then you have the perfect doll-sized dinosaur bedroom.


Next month, we'll be moving on to the kitchen!


